Kool Aid Sensory Lab
What you need:
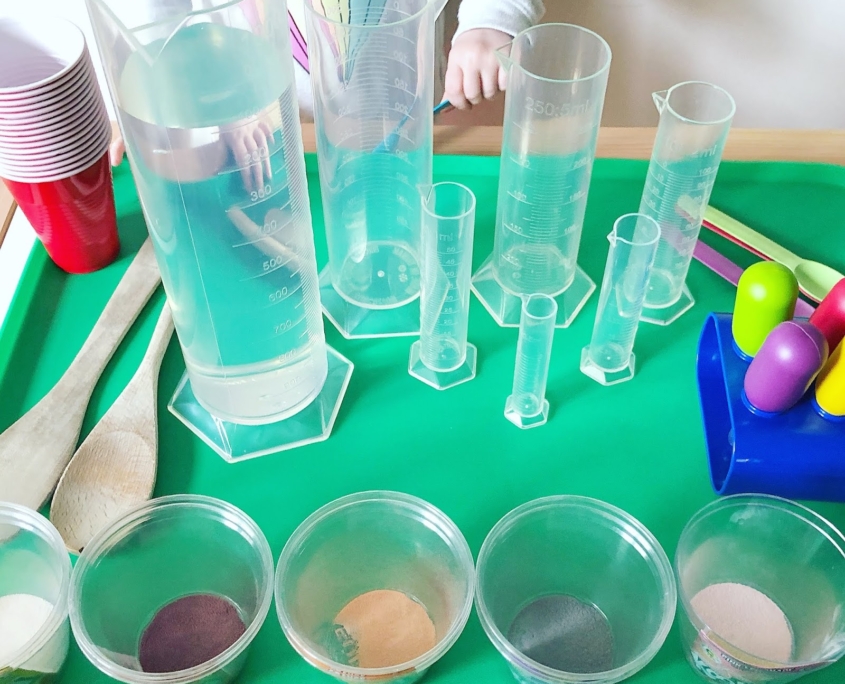
– plastic cups
– spoons, small and big
– pipettes (we used the Jumbo Learning Resources ones)
– large containers or cylinders (we used our new Edx Education Graduated Cylinders)
– drinking water
– a tray or messy mat (we used the PlaSmart Toys Messmatz, large size)
How it works:
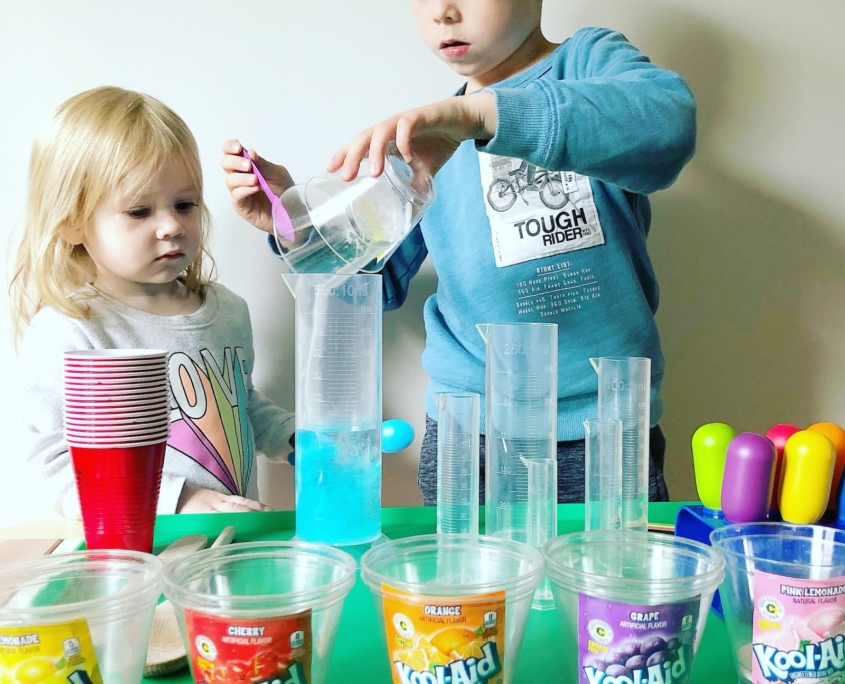
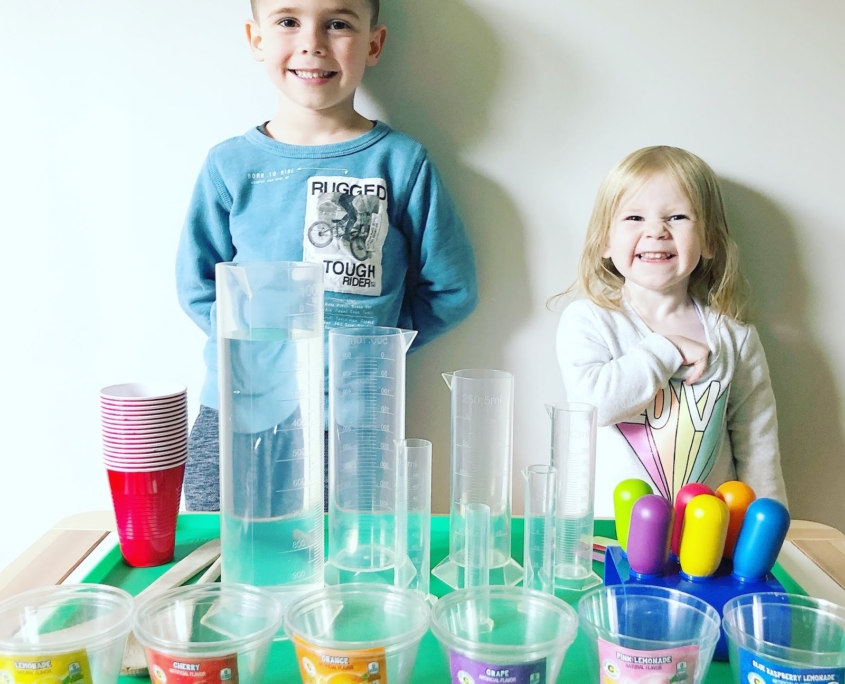
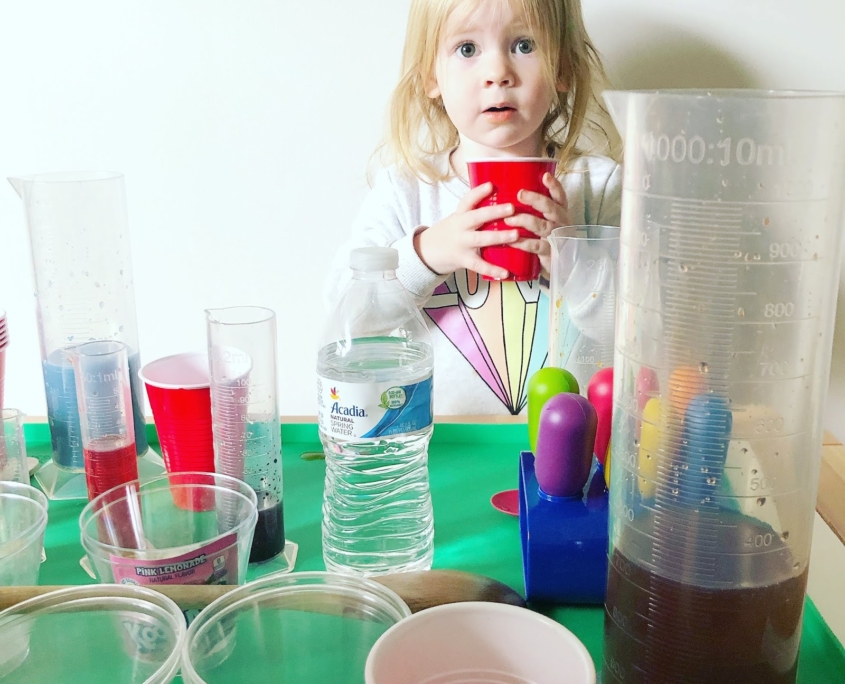
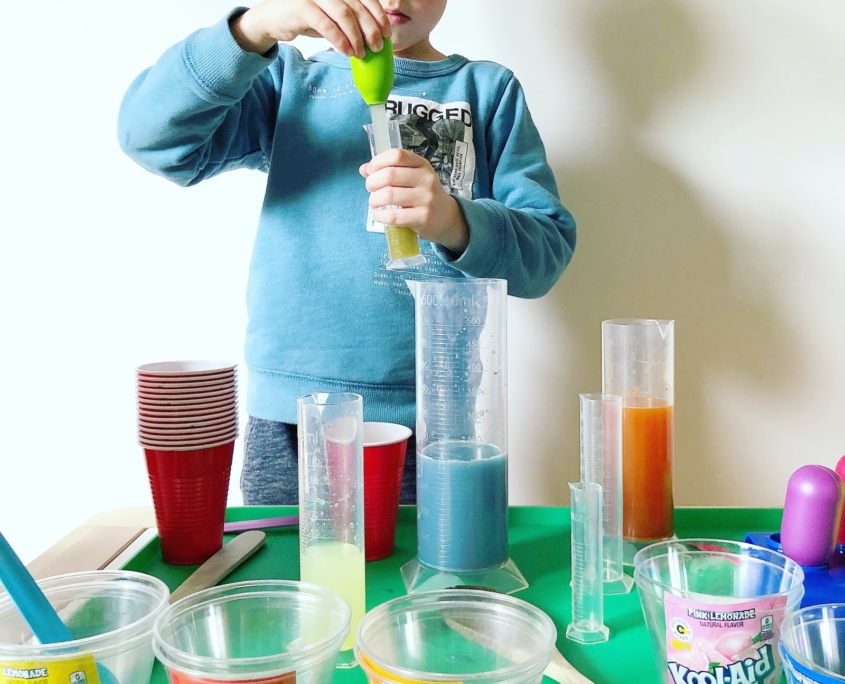
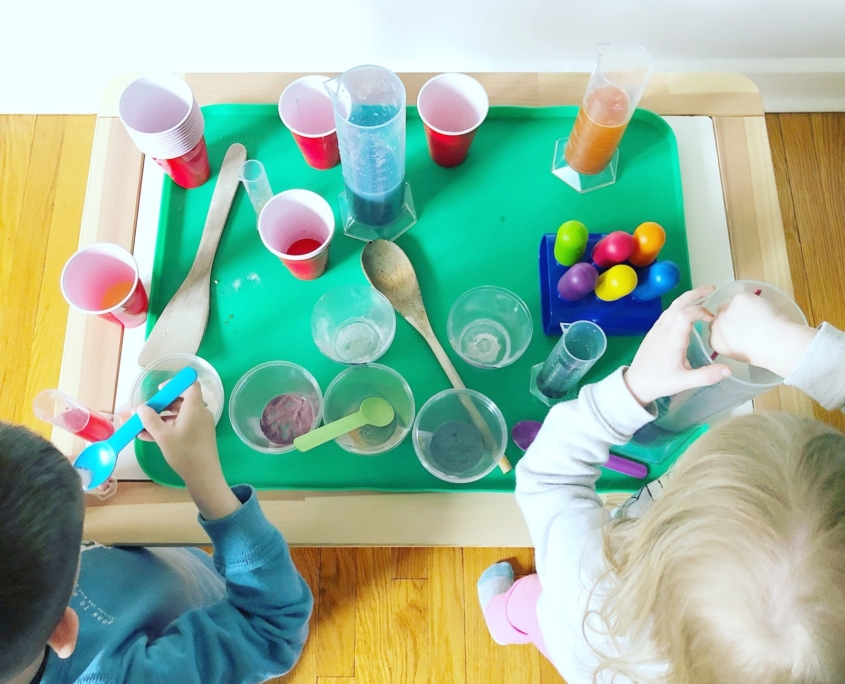
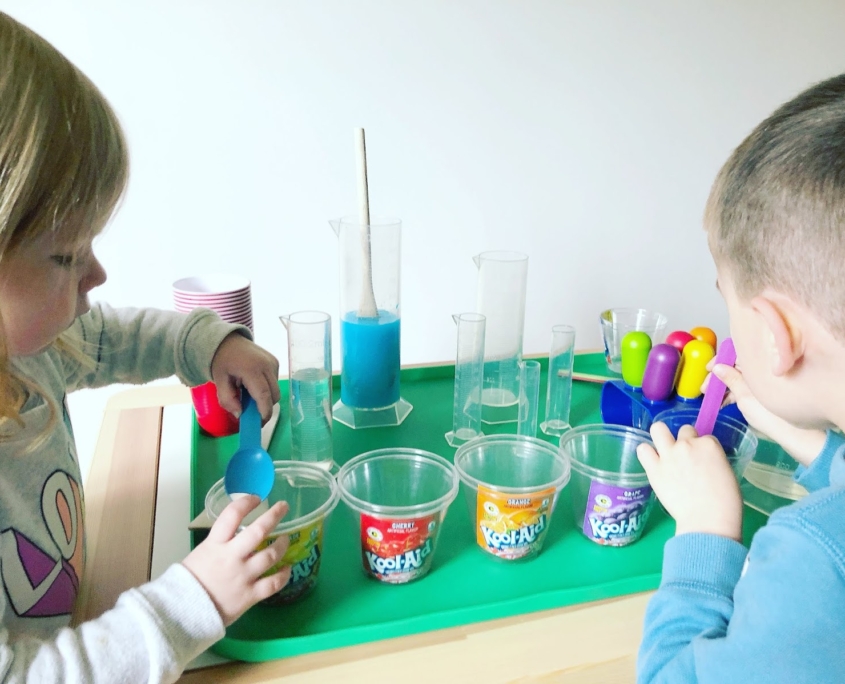
There’s not much prep involved at all with this activity. Simply empty out the packets of Kool Aid into the plastic cups. I then placed the packet wedged in-between another cup so that the kids could easily identify the flavors without it spilling everywhere. Then I put out all the other materials, including filling the largest cylinder up with drinking water. As soon as my kids saw the set up they couldn’t wait to get making their own drinks!
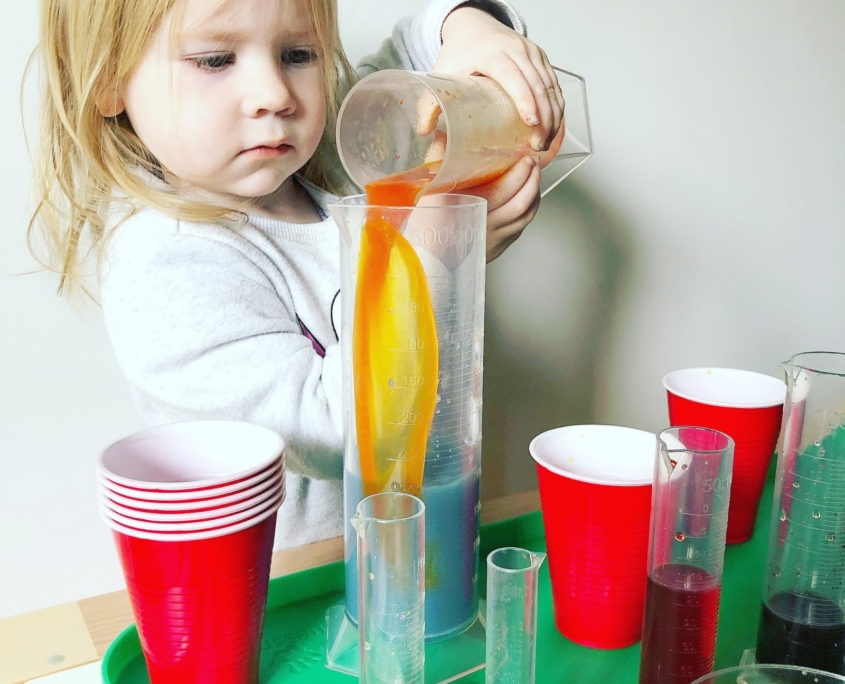
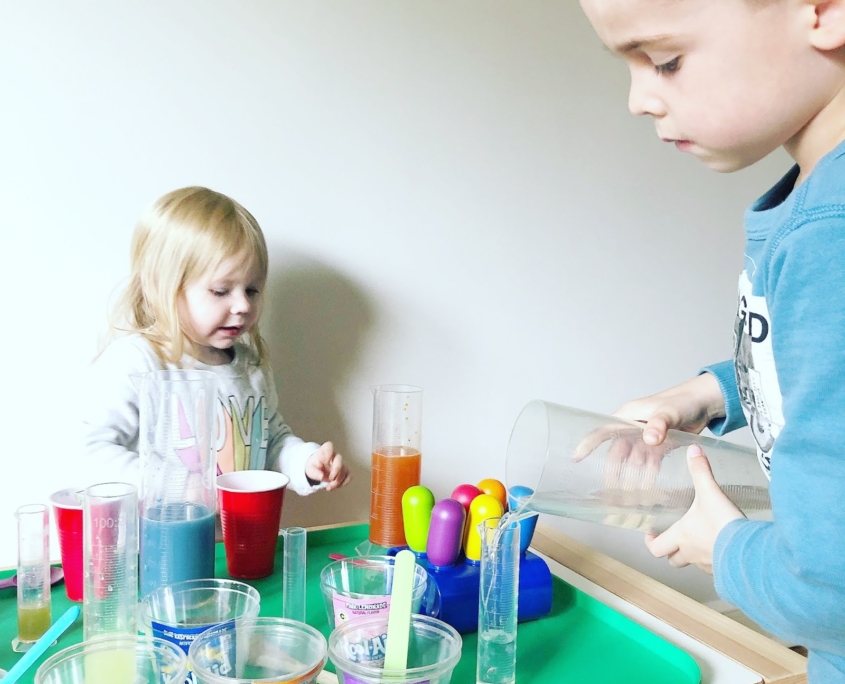
With a set up like this I always give minimal instructions and try to take a step back. I knew things might get a little messy, especially with my toddler pouring all that liquid, but it is such a great opportunity for her to explore new materials and work on her fine and gross motor skills.
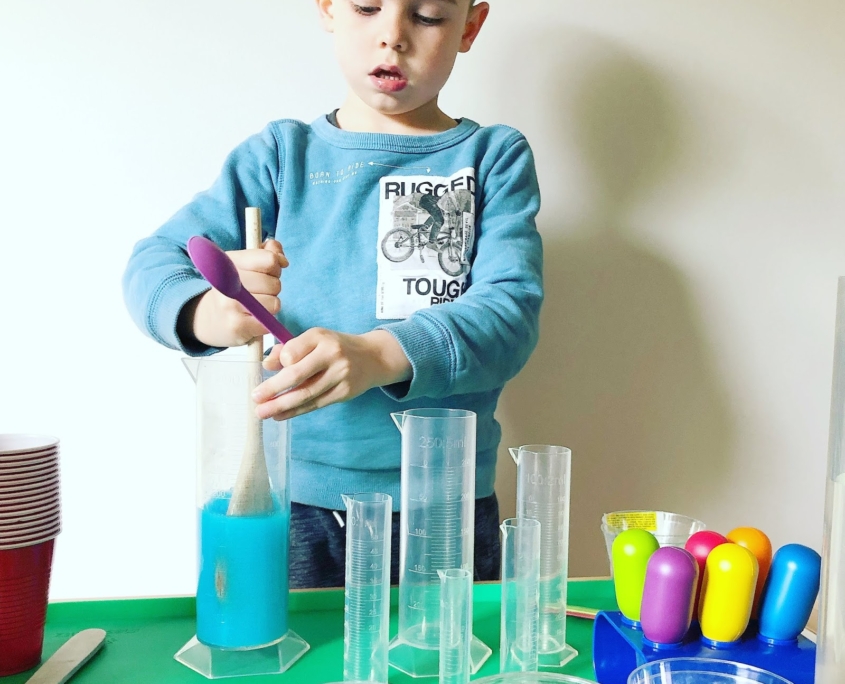
They loved adding the Kool Aid powder to water in the cylinders, giving it a good stir and observing the color changes.
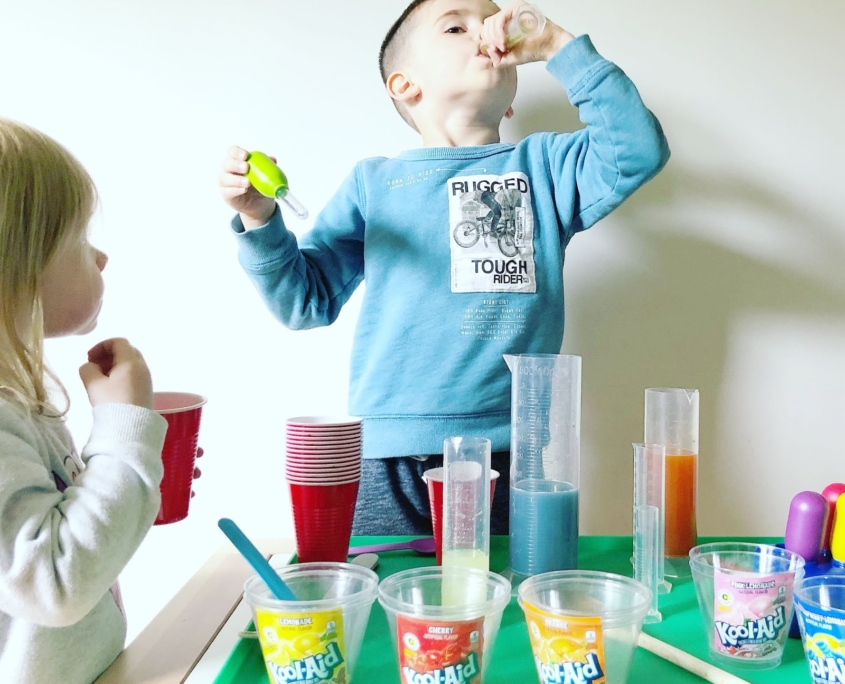
There was lots of detailed discussion about the colors, smells and also eventually tastes! It was so funny watching their reactions as they tasted the unsweetened Kool Aid, it really isn’t very nice!! It’s safe to say only little sips were consumed!
By putting out lots of different tools and containers, it encouraged my kids to work on their transfer and pouring skills. I was also able to link to some volume work with my 5 year old son by using the measurements on the side of the cylinders.
This activity worked really well for both age groups, and I loved that they were experimenting and exploring side-by-side.
My son said this was his ‘favorite activity ever’ which was a huge win! I can’t wait to repeat the activity outside when the weather warms up. It will be lots of fun to turn it into a Kool Aid Stand, linking to some money and numeracy work for my son.
 Edx Education
 Edx Education
 Edx Education
 Edx education
 Edx Education
 edx education
 edx education